撰寫於版本 v1.12.0.154 — 目前版本可能已調整平衡。

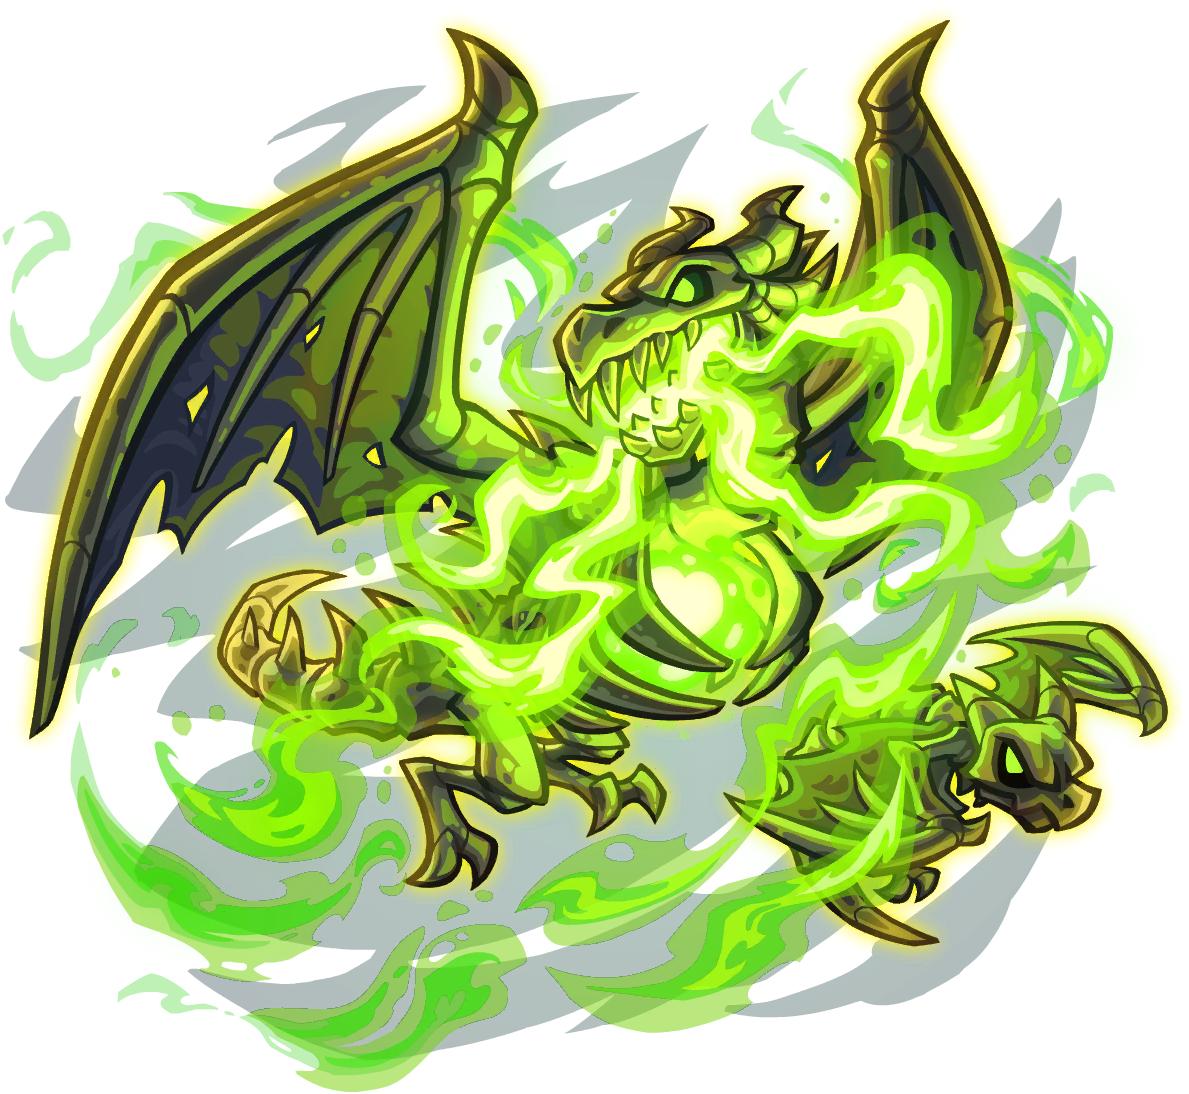
Bonehart
×
Coin Farm 1
/ 卡組
開啟 →

Bonehart
英雄


/ 概覽
Note: The visual guide is not the strategy itself ! Since the game can adapt during play, it’s practically impossible to do exactly the same thing!
Early Game (Waves 1–3):
Prioritize placing the Barracks, Sacred Sanctuary, and Tesla (in the center of the map). However, it is recommended to place all towers without upgrading them in the recommended locations.
If the Bomb and/or Resistance spells are present, prioritize maxing out the Sacred Sanctuary.
Bonehart should be near the Sanctuary, but don’t hesitate to move him out of the area to use his Dive ability to eliminate a group of enemies and send his dragons to apply pressure.
End of Wave 3: Max Tesla Tower with area damage (do not pay for the other skill to prioritize defense unless it helps win the game), max Sacred Sanctuary (as per the condition above), and a max Crossbowman (at the bottom of the map).
Mid-game (Waves 4–5):
Max out the crossbowmen for maximum damage and critical hits.
If you have enough money, upgrade the last 2 Teslas.
If the Sacred Sanctuary hasn’t been upgraded during the first 3 waves, upgrade it and buy the attack boost ability, then wait until the last wave to purchase the healing ability (if possible).
Endgame (Wave 6: Boss):
Always save money for upgrading the barracks!
If possible, buy offensive abilities (Crossbowman: prioritize the bottom one / Tesla).
Tank the boss and protect Bonehart! To protect Bonehart, simply place him in the bottom-right corner of the map, out of the way. With good positioning, he will continue to attack and will constantly receive protection from the Sacred Sanctuary tower.
If there are too many enemies clustered in a corner, sacrifice your Bonehart for his dive attack; this will kill almost all the enemies (but he will be killed by the boss).
Only do this in an emergency!
Either the enemy will be overwhelmed and lose the wave, or you’ll tank and deal enough damage to kill the boss.
P.S.: Feel free to sell the barracks and replace it, upgrading it little by little when there are no paladins on the field.

/ 最終放置
開啟完整尺寸 ↗
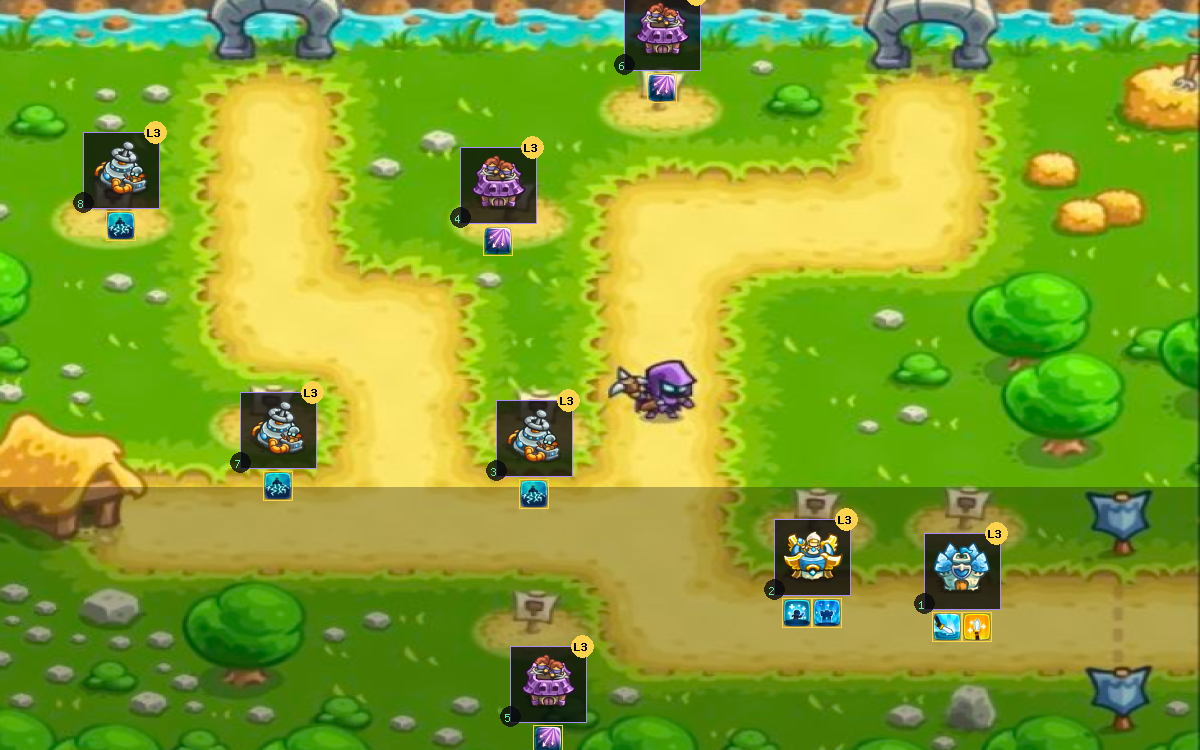
/ 放置 ·
/8
/
-
#1 建造 · 建造點 1 ·
Barrack
-
#2 建造 · 建造點 2 ·
Holy Sanctuary
-
#3 建造 · 建造點 3 ·
Tesla
-
#4 建造 · 建造點 4 ·
Crossbow
-
#5 建造 · 建造點 5 ·
Crossbow
-
#6 建造 · 建造點 6 ·
Crossbow
-
#7 建造 · 建造點 7 ·
Tesla
-
#8 建造 · 建造點 8 ·
Tesla
-
#9 升級 · 建造點 1 · 至 L3
-
#10 升級 · 建造點 2 · 至 L3
-
#11 購買能力 · 建造點 2 · 槽位 1
-
#12 購買能力 · 建造點 2 · 槽位 2
-
#13 升級 · 建造點 3 · 至 L3
-
#14 購買能力 · 建造點 3 · 槽位 1
-
#15 升級 · 建造點 4 · 至 L3
-
#16 購買能力 · 建造點 4 · 槽位 1
-
#17 升級 · 建造點 5 · 至 L3
-
#18 購買能力 · 建造點 5 · 槽位 1
-
#19 升級 · 建造點 6 · 至 L3
-
#20 購買能力 · 建造點 6 · 槽位 1
-
#21 升級 · 建造點 7 · 至 L3
-
#22 購買能力 · 建造點 7 · 槽位 1
-
#23 升級 · 建造點 8 · 至 L3
-
#24 購買能力 · 建造點 8 · 槽位 1
-
#25 購買能力 · 建造點 1 · 槽位 2
-
#26 購買能力 · 建造點 1 · 槽位 1
/ 增益 · 2


/ 反應
0
靜默
尚無留言。成為第一個。